Fuel Injector/Rail DIY Guide
The most likely scenario that you need to remove your fuel injectors is that one of the seals has failed or you are upgrading to a bigger size. In either scenario you are going to need new O-Rings. Whatever you do, DO NOT BUY the NUBIS Replacement Kit.
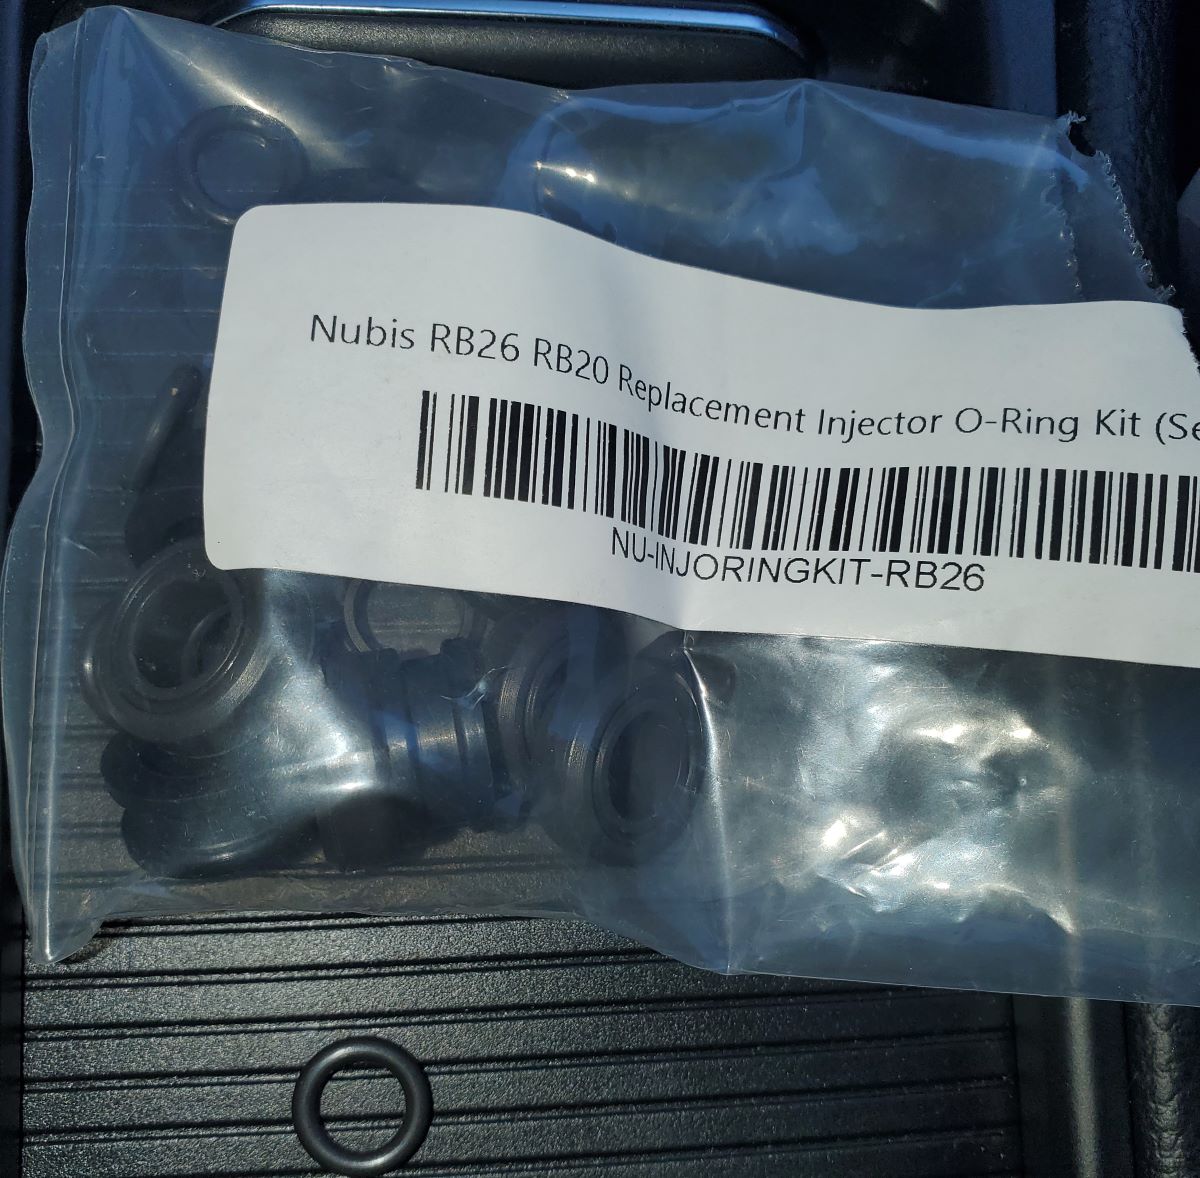
Here is why, the material that Nubis uses is garbage. I drove around on them for a day and they just started falling apart.
Spend the extra cash for OEM so you do not have to take the injectors out twice. Nissan charges a hefty price for some rubber rings, try to see if you can find the exact match under a diffrent engine code to avoid the, "Skyline Tax."
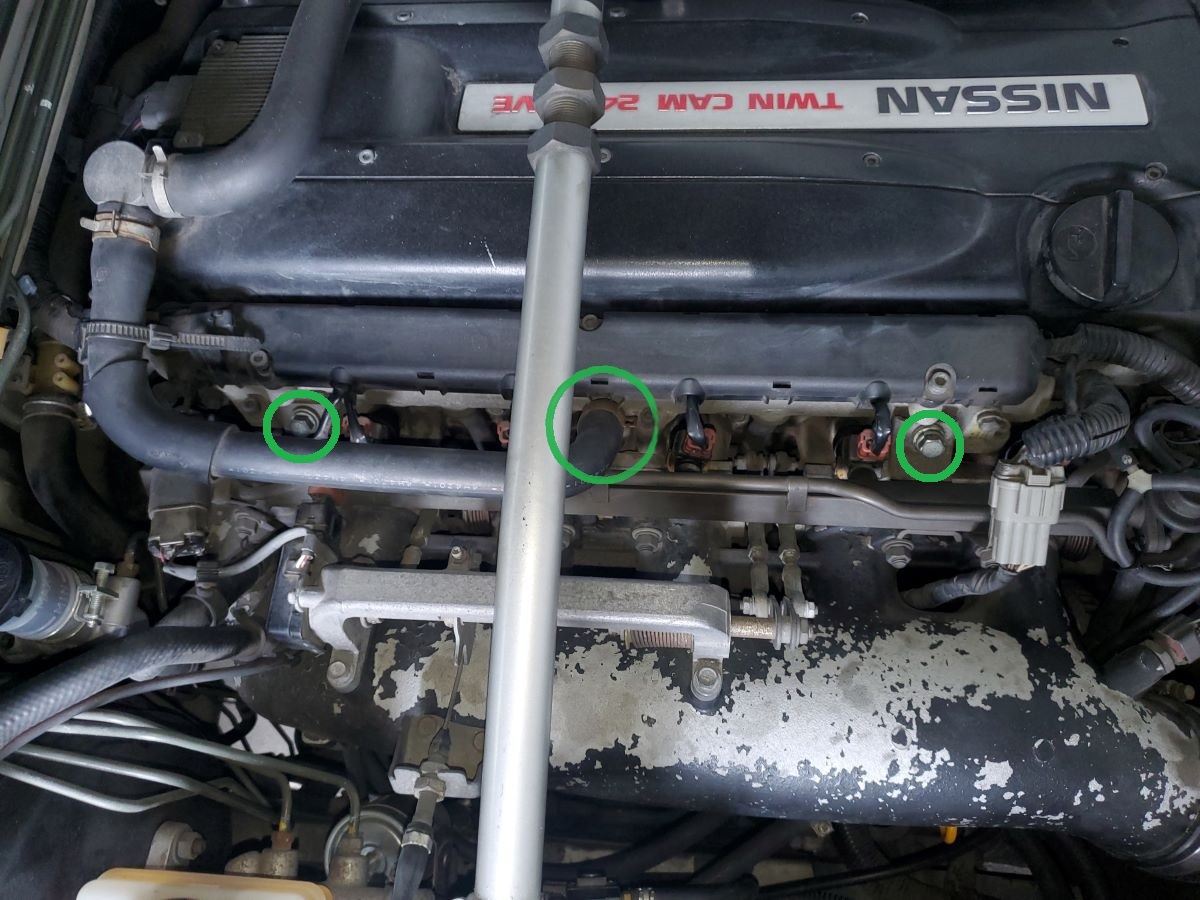
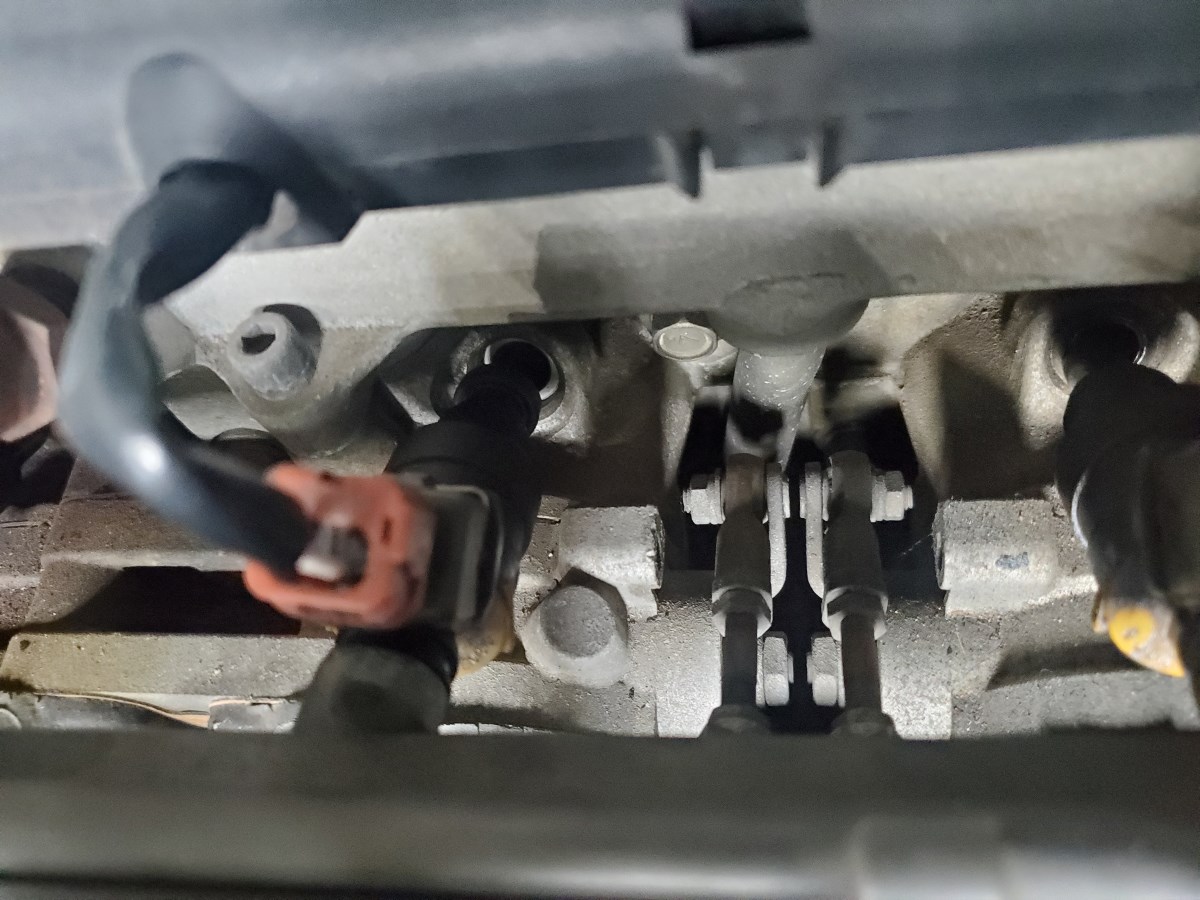
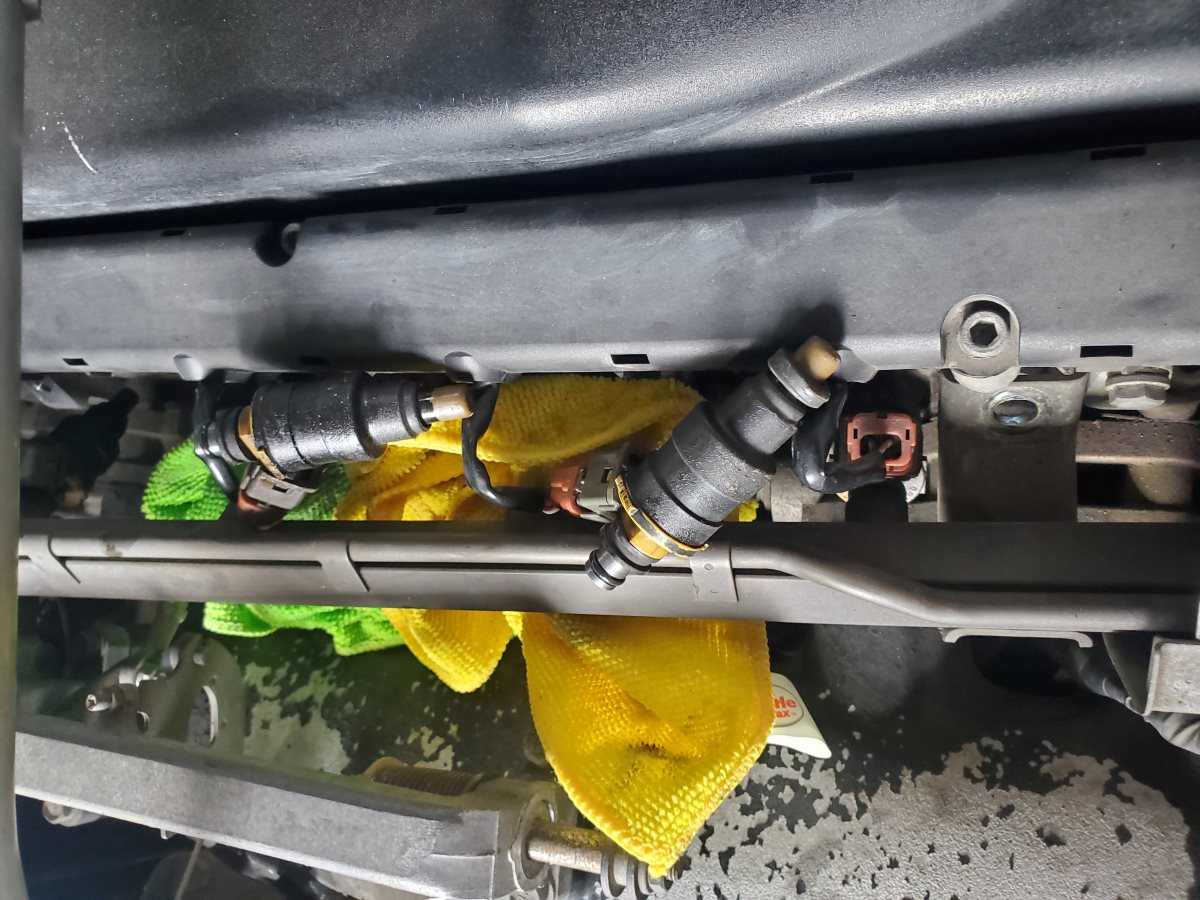
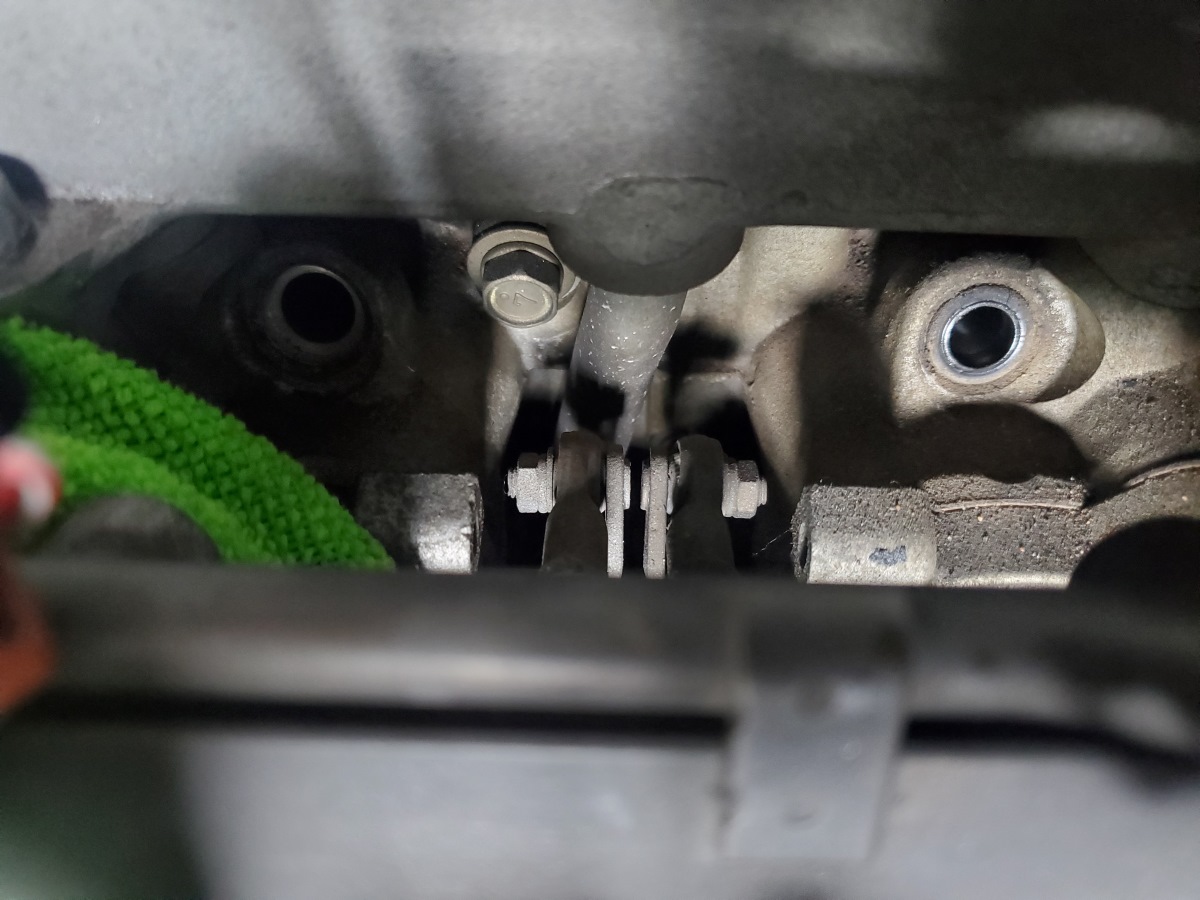
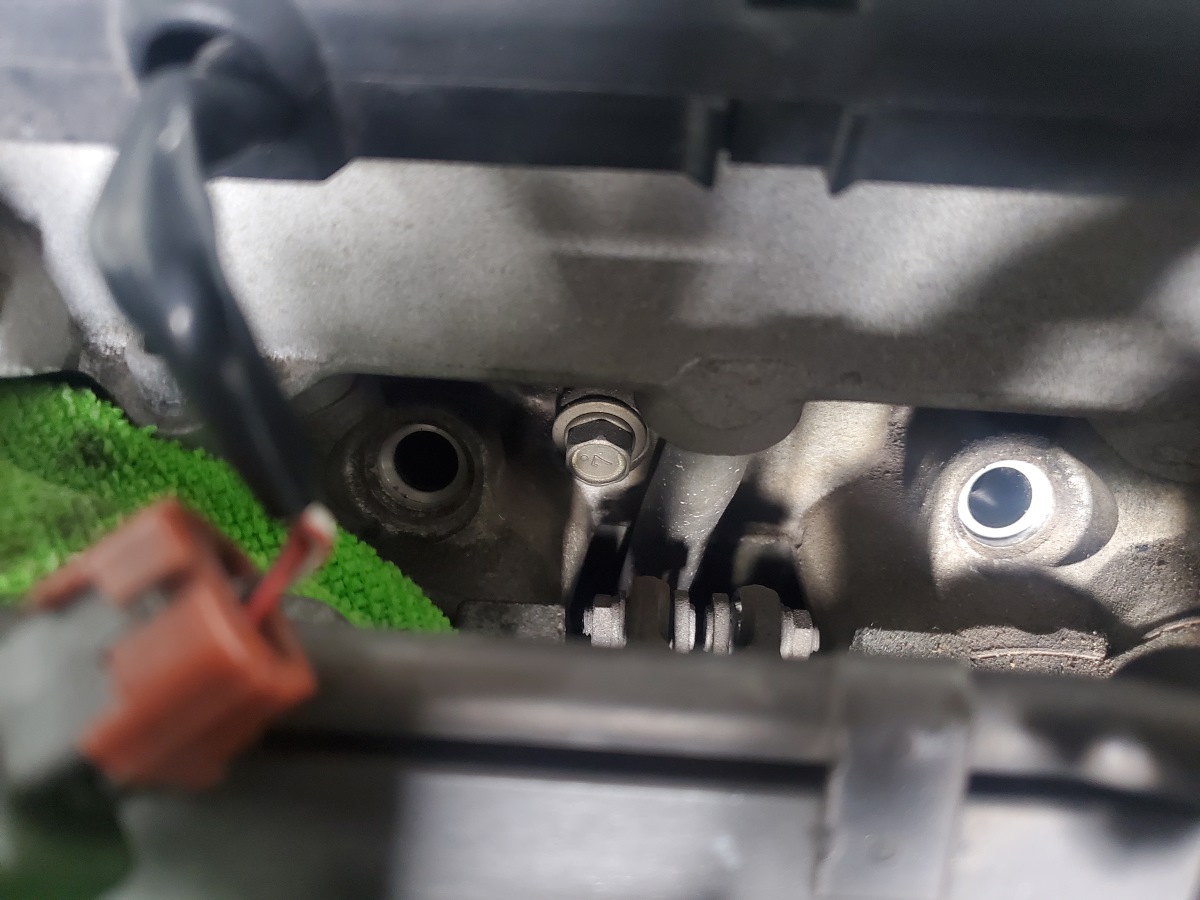
Alright, let’s get to it. The hose in the middle you can unclamp just to get it out of the way. I tucked it behind the clutch cylinder. The two bolts on the left and right hold the fuel rail in place you’ll need to remove both as well.
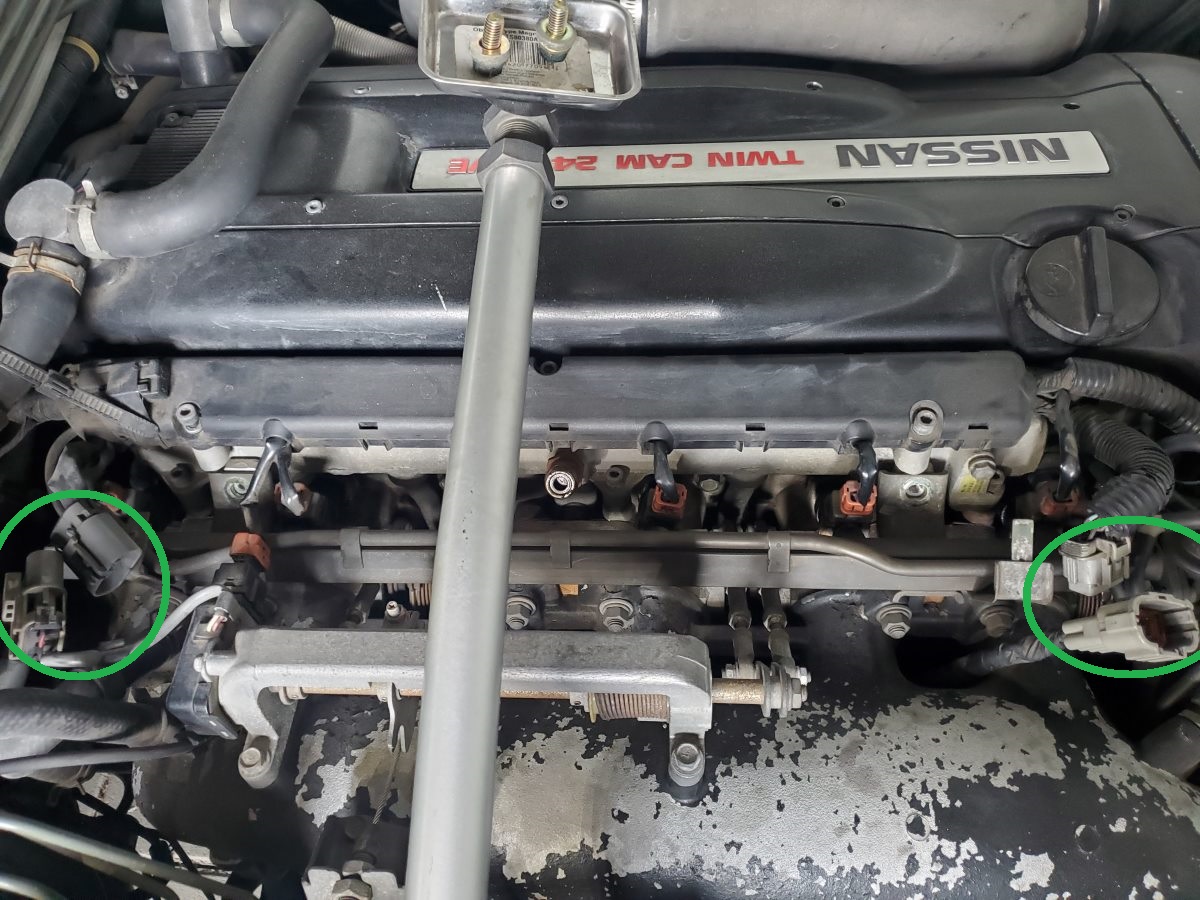
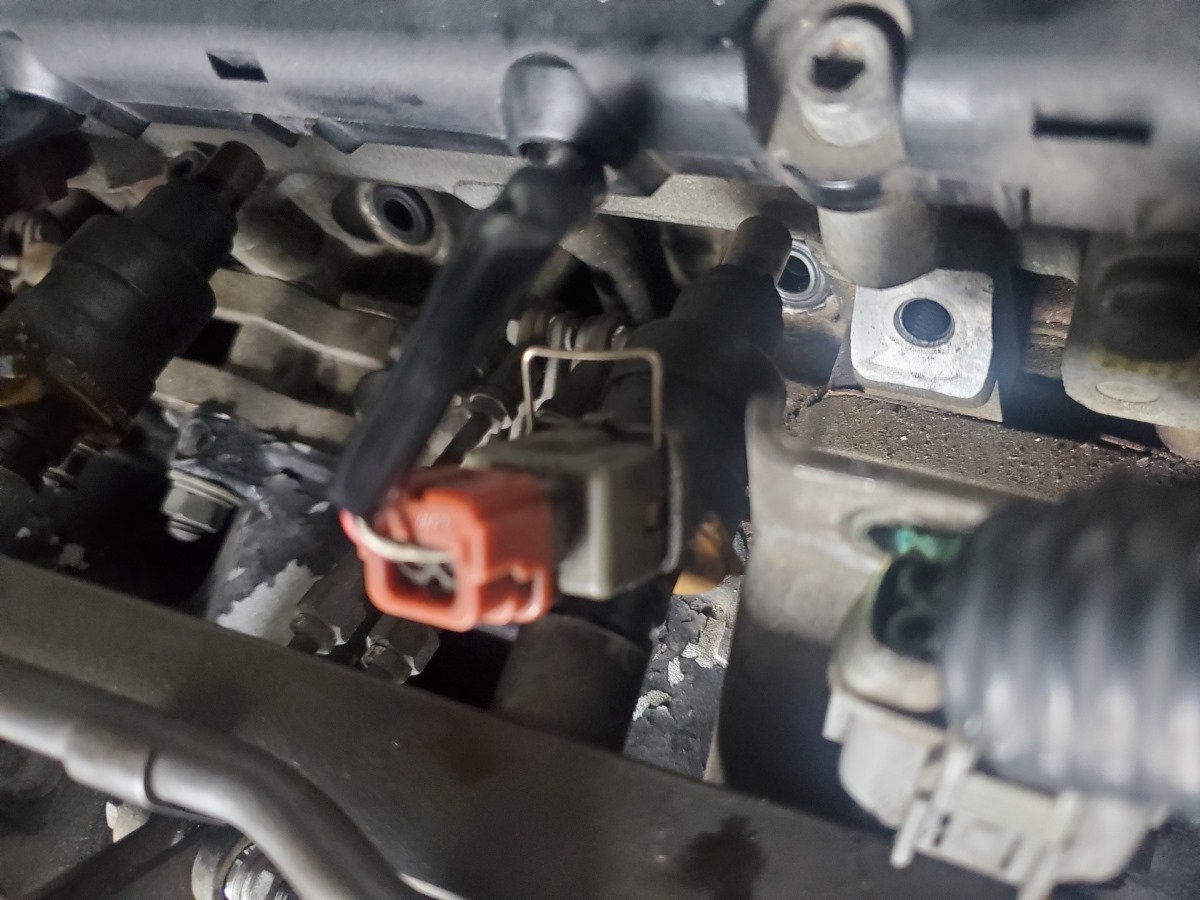
Disconnect your battery and then remove these two electrical plugs from their connections.
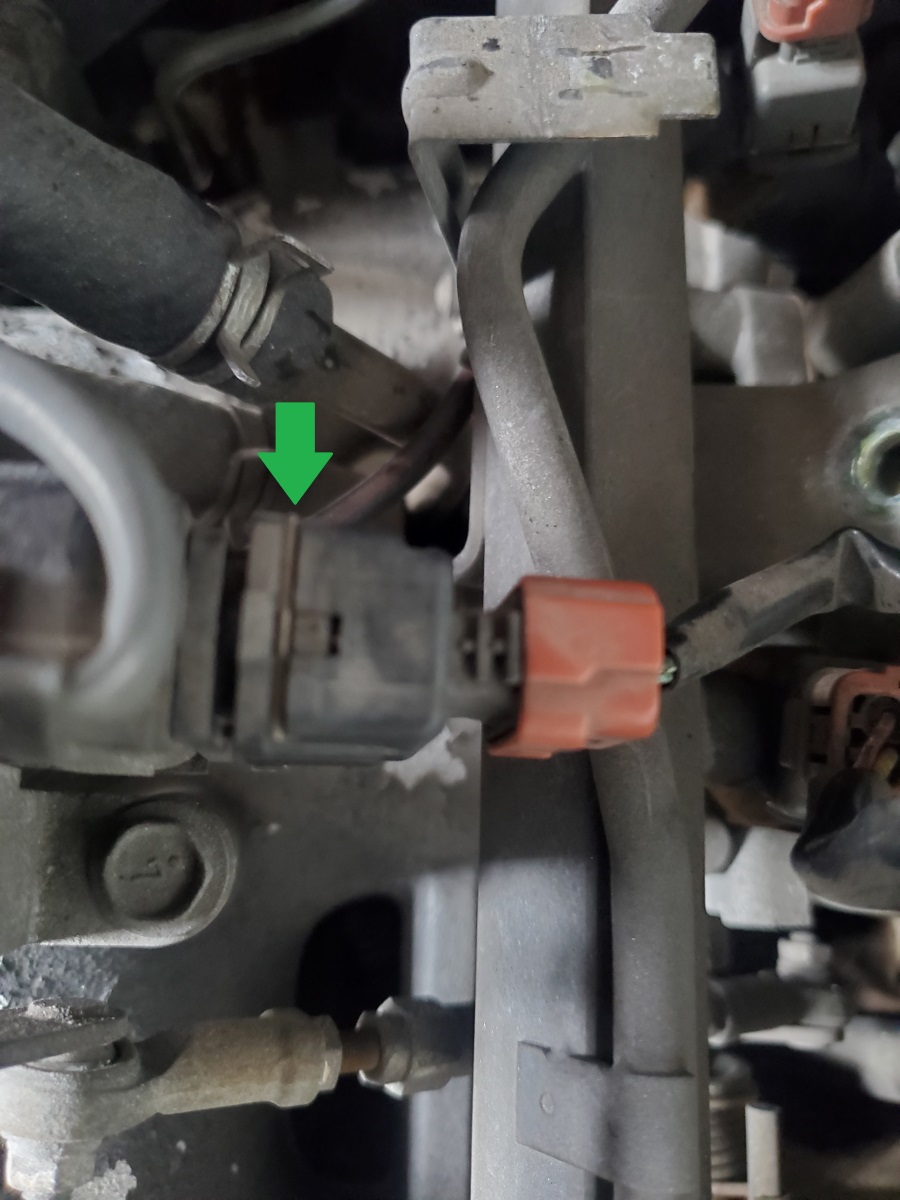
Be careful removing these pins shown by the green arrow in the picture. They are tension loaded and will spring into the abyss that is your engine bay if you let them. I used a small flat head to pry them over the lip and pull them out just a little. Use a pair of needle nose pliers to hold on to them as you pull them off. There is one (big) clip for this connector and there are six (small clips) on each injector.
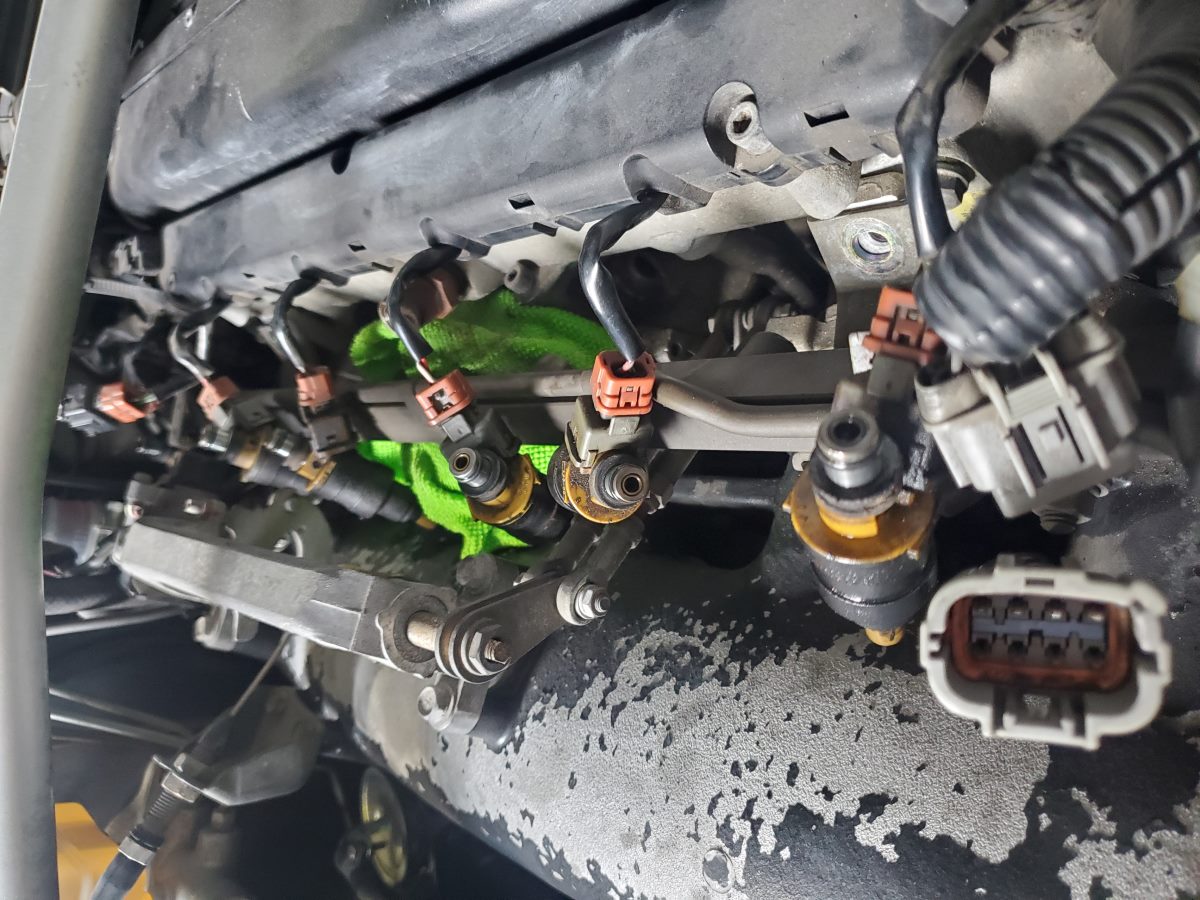
After removing all the pins, I placed some rags down around each injector. When you remove the injectors form the fuel rail, there will be some leakage.
Next, gently wiggle each injector free from their respective port.
I left all mine connected, the connector retaining pins are easier to remove when they are not affixed in place.
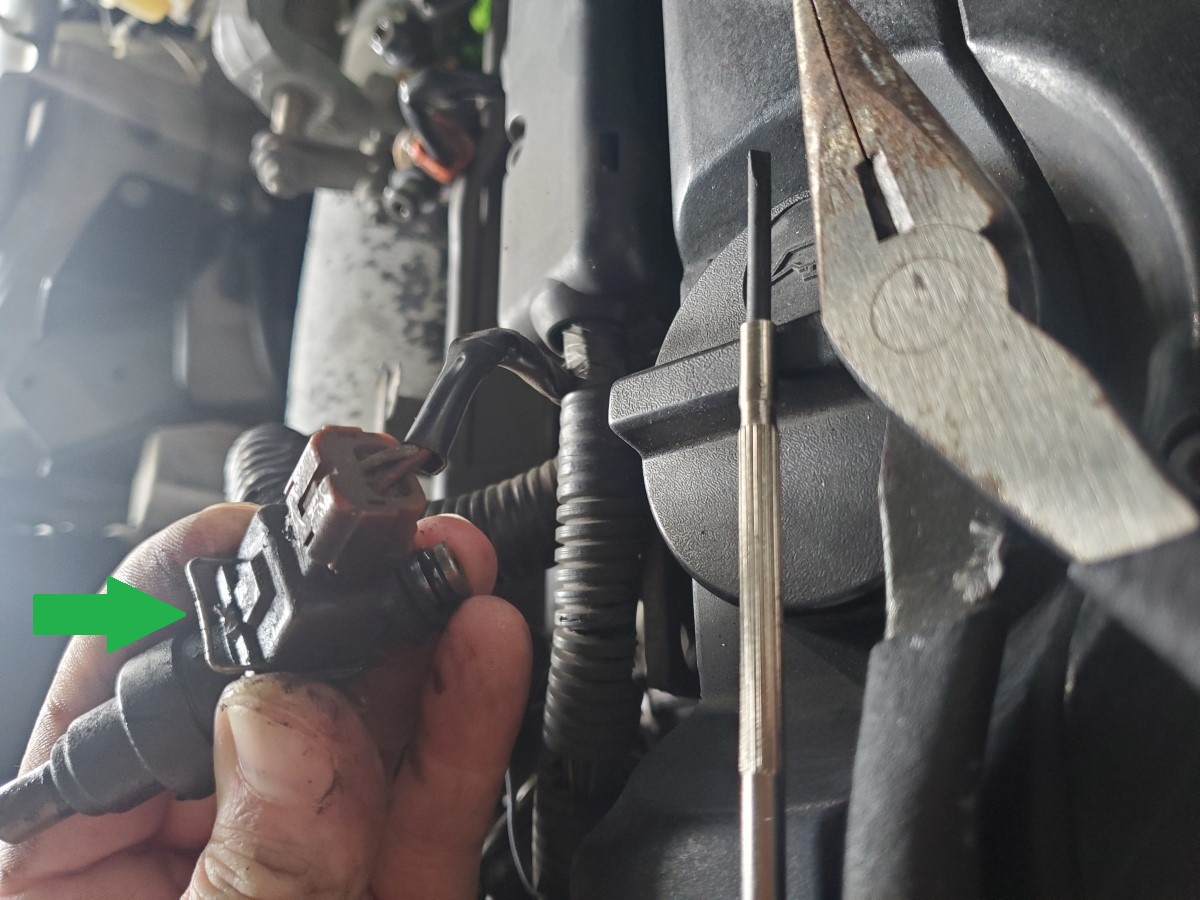
Let me repeat my earlier warning: these retaining pins (indicated by the arrow) are tension loaded. If you don’t have a solid grip on them they will shoot into your engine bay and will next to impossible to pinpoint where they ended up at. I suggest gently prying the up with a small flat head and then use a good pair of needle nose pliers to remove them all the way.
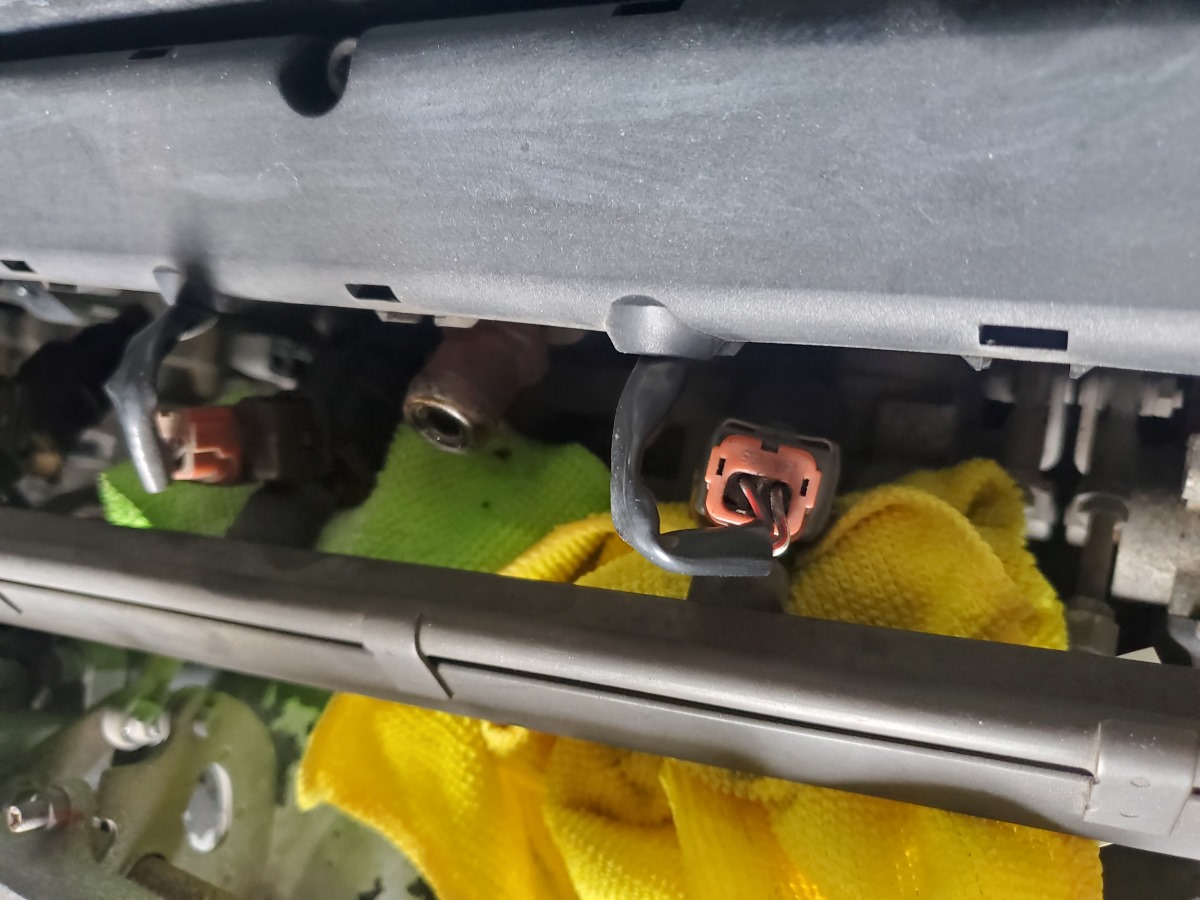
Here is a picture of the pin and the connecter after they are separated from the injector.
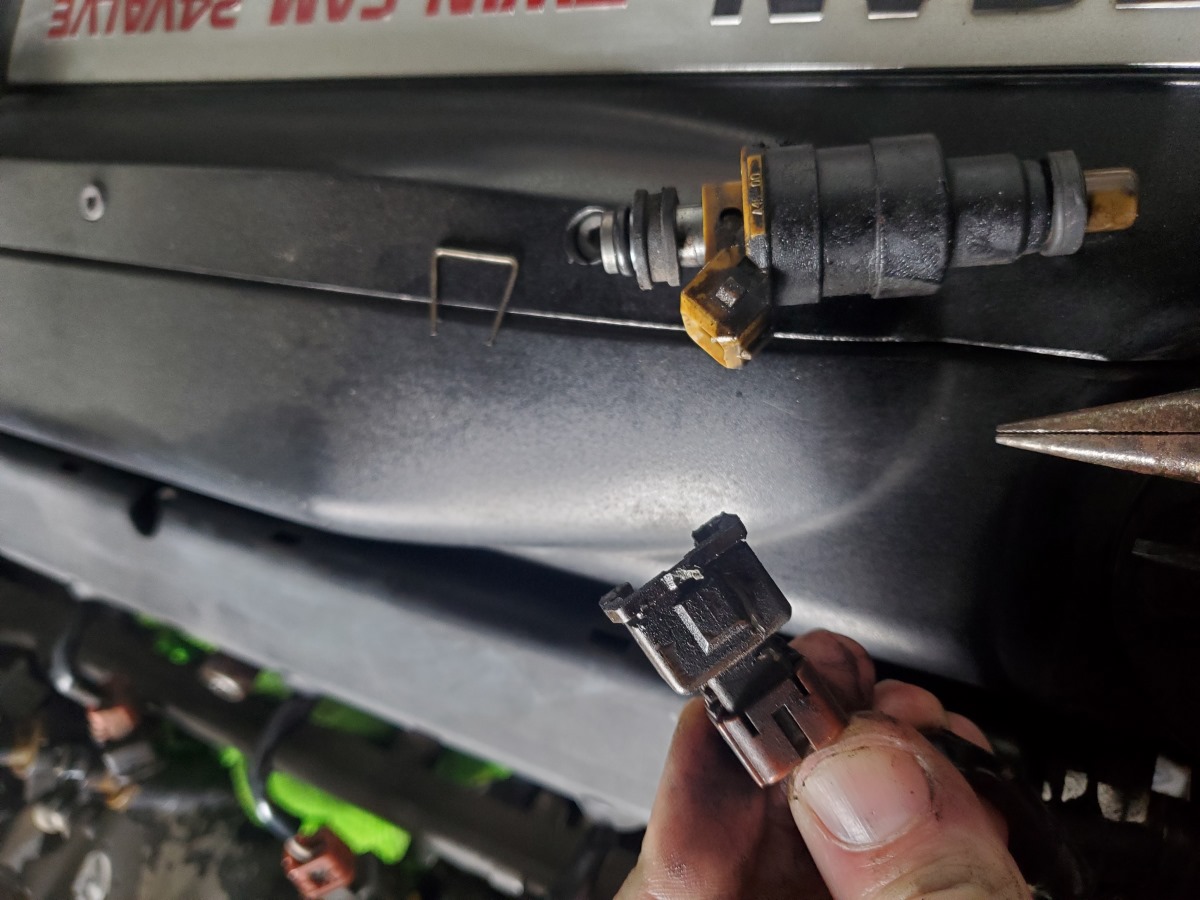
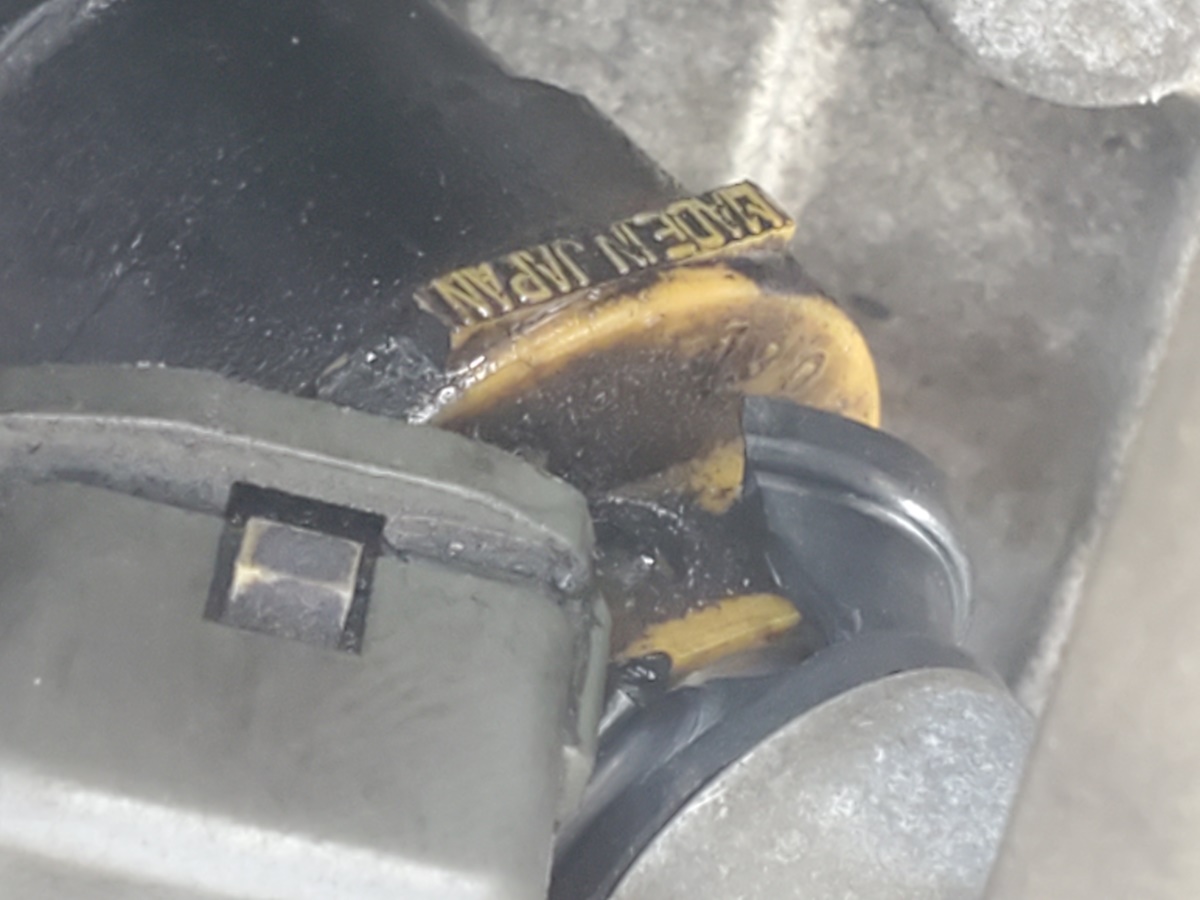
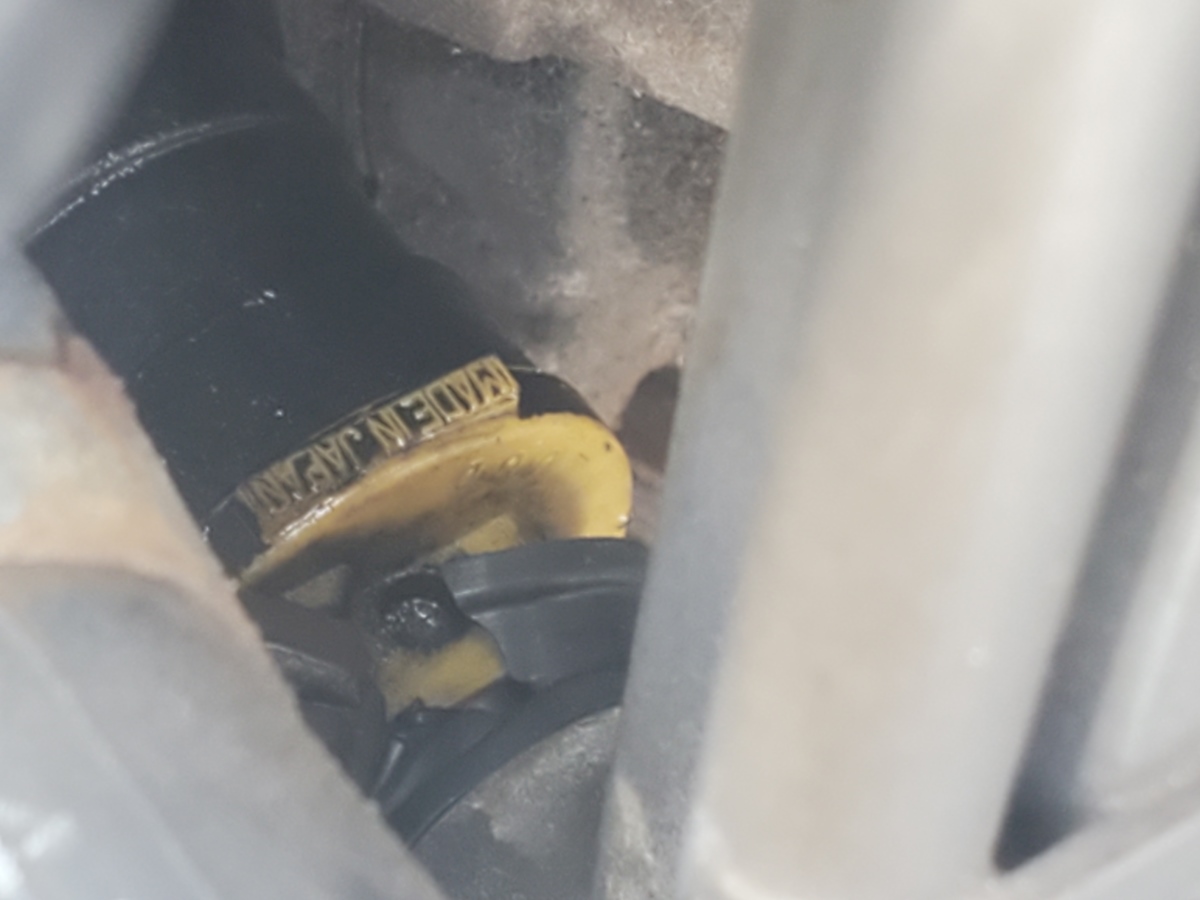
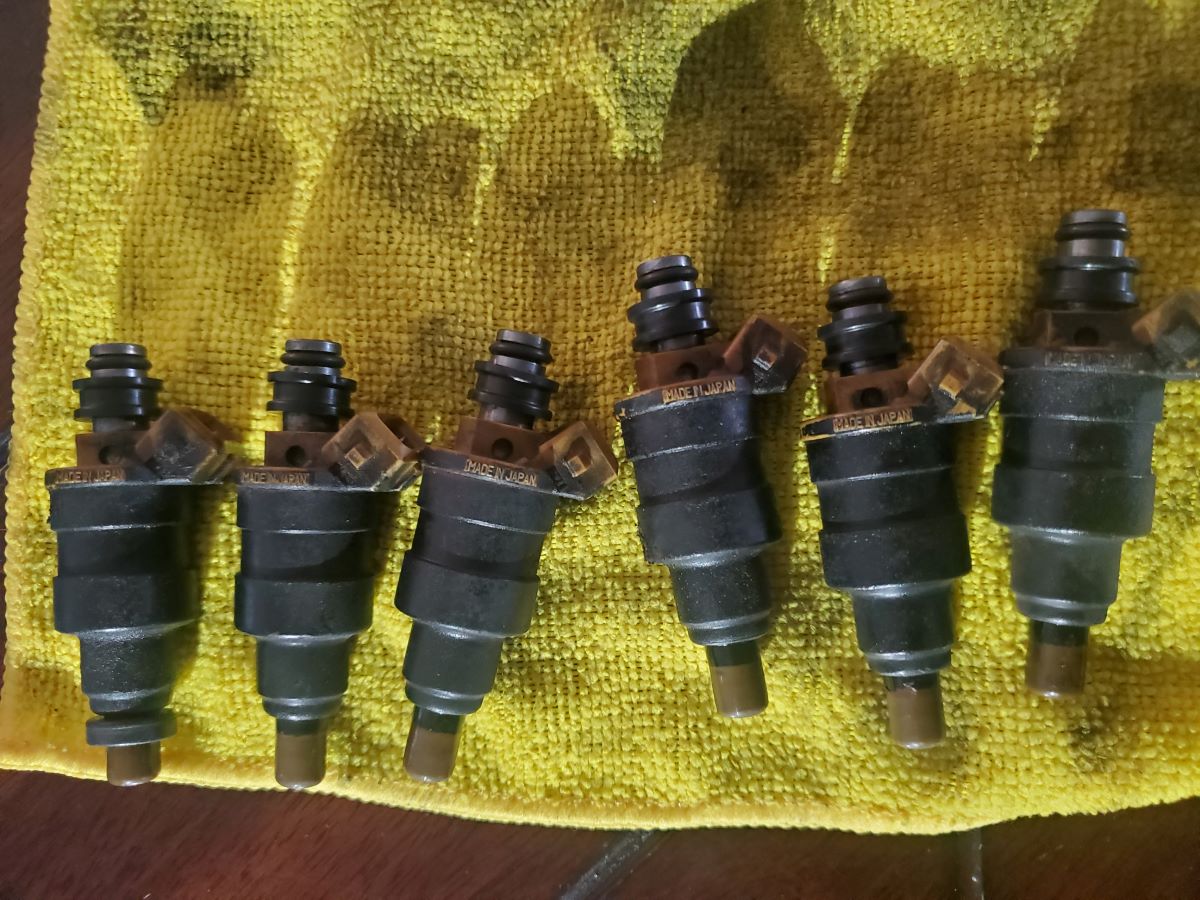
I didn’t have a problem with the top two, but make sure the bottom one comes out with the Injector. The bottom ring will sometimes stick in the port hole as shown on the left one in the picture. The right one is what it should look like.
Next you want to replace all the new bottom O-rings directly into their port. It makes lining up all the injectors easier and ensures they do not slide off when you are trying to re-install them.
When you have all six injectors out, please examine for any cracks or chips around the fuel port. They will need to be replaced if damaged or misisng.
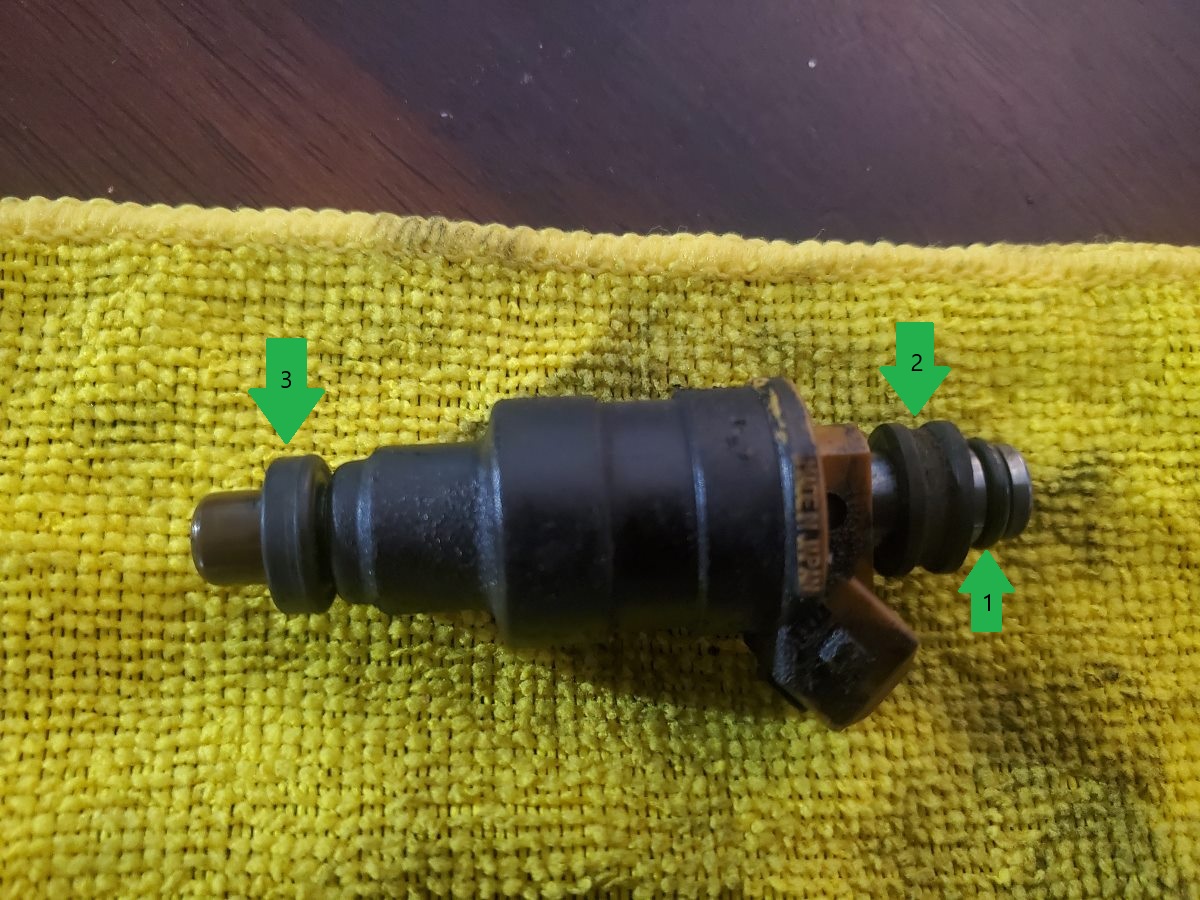
Here is a break down of three rings that need to be replaced on each injector.
After you remove the top two old rings and put in the new rings, you are ready to install the injectors back into their homes. After you fit them all into the fuel rail, plug their connectors, push the pin back down and over the locking nub.
Ensure all six injectors are seated properly before you bolt the fuel rail back down. Do not forget the additional two connectors at the front and aft of the fuel rail and the hose that you moved out of the way near the middle of fuel rail. Hook your battery backup and let you fuel pump prime for a second before turning to crank, check for leaks.